
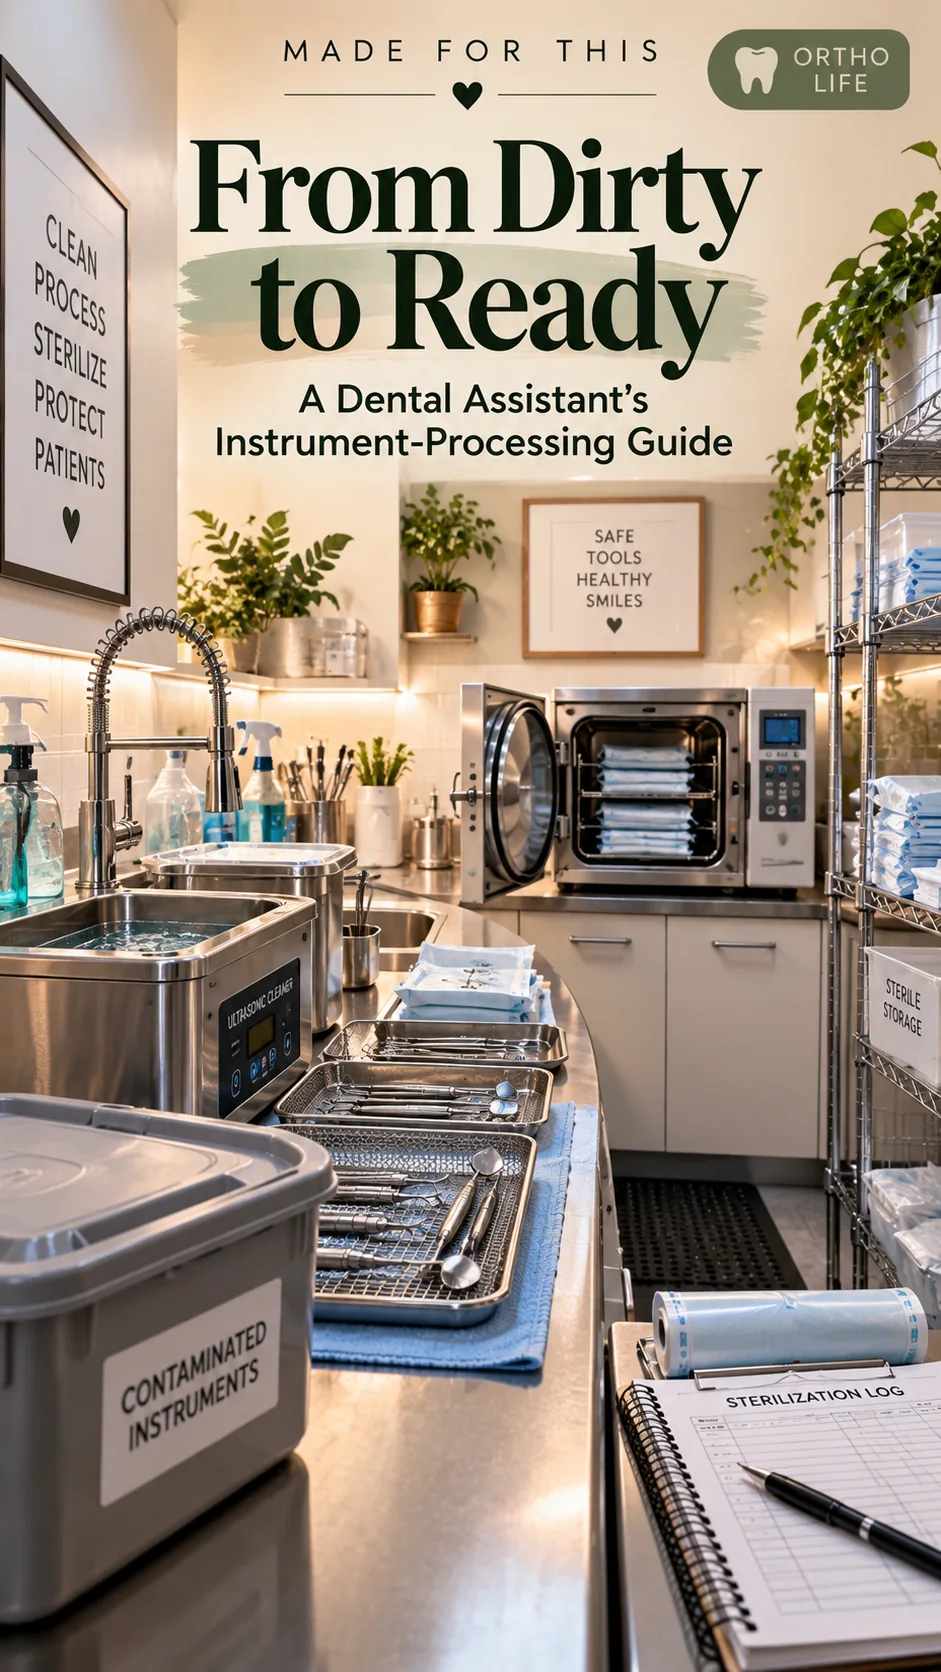
FROM DIRTY TO READY
A Dental Assistant’s Instrument-Processing Guide
Made for This • Orthodontic-Assistant Education • September 13, 2026
Some of the most important work in an orthodontic or dental office happens after the patient leaves the chair. Instruments have to move from contaminated to clean, from clean to packaged, from packaged to sterilized, and from sterilized to protected storage without accidentally crossing backward into the wrong zone. When that flow is organized well, it can look almost effortless. Behind that calm appearance, though, is a sequence of infection-prevention decisions that has to be performed correctly every time.
For a dental assistant, understanding this process is more than memorizing where a pouch goes or which button starts a sterilizer. It is learning how each step protects the next one. Cleaning makes sterilization possible. Drying protects the package. Packaging helps maintain sterility after processing. Monitoring tells the team whether the sterilizer reached the conditions it was supposed to reach. The goal is not speed for its own sake; the goal is a repeatable system that makes safe care easier to deliver even on a busy day.
WHY “CLEAN” AND “STERILE” ARE NOT THE SAME THING
The Centers for Disease Control and Prevention groups patient-care items by the infection risk connected to how they are used. Critical items penetrate soft tissue or bone and should be heat sterilized after each use. Semicritical items contact mucous membranes; because most are heat-tolerant, CDC recommends heat sterilization for them as well. Noncritical items contact intact skin and generally require cleaning and, when indicated, low-level disinfection rather than sterilization.
That classification matters because visual appearance alone cannot tell you whether an instrument is ready for patient care. An instrument can look spotless and still not have completed the necessary reprocessing steps. This is one reason new assistants benefit from thinking of instrument processing as a workflow rather than a single machine cycle. The sterilizer is important, but it is only one part of a larger system.
BUILD A ONE-WAY FLOW
A strong processing area should make the direction of travel obvious: contaminated items enter on the dirty side, move through cleaning and preparation, then continue toward sterilization and clean storage. CDC guidance emphasizes containing, transporting, and handling contaminated instruments in ways that reduce exposures. Loose contaminated instruments should be handled as little as possible, and transport containers should be covered, leak-resistant, and puncture-resistant when sharps are involved.
The assistant’s personal protective equipment is part of that workflow. When handling contaminated instruments, splash protection and protective clothing may be needed, and heavy-duty puncture-resistant utility gloves are recommended for manual instrument cleaning. OSHA’s Bloodborne Pathogens Standard also applies when employees have occupational exposure to blood or other potentially infectious materials; in dental procedures, saliva is included within that framework. In real life, that means the instrument-processing area should be treated as a controlled work zone, not as an ordinary sink-and-counter space.
CLEANING IS THE FIRST SAFEGUARD
Cleaning removes debris and organic material before disinfection or sterilization. That step matters because blood, saliva, and other contamination can shield microorganisms and interfere with the later process. Automated cleaning equipment such as an ultrasonic cleaner or washer-disinfector can improve efficiency while reducing the amount of direct handling of contaminated instruments. If manual cleaning is necessary, CDC recommends work-practice controls such as using a long-handled brush and never reaching blindly into a sink or container where sharp instruments cannot be seen.
This is also where “busy-day shortcuts” can create risk. Skipping a cleaning step because an item does not look dirty defeats the logic of the system. The safe habit is to follow the office protocol and the manufacturer’s validated instructions for use for the instrument, cleaning method, packaging material, and sterilizer. A reliable assistant learns the sequence so well that it becomes routine without becoming careless.
DRY, INSPECT, AND PACKAGE WITH PURPOSE
Once instruments are cleaned and rinsed, they should be thoroughly dried before packaging. CDC notes that wet instruments can compromise packaging materials and their ability to maintain sterility. After drying, instruments should be inspected, assembled as needed, and placed into wraps, pouches, cassettes, or other approved systems designed for the sterilization method being used.
Packaging is not just a convenience for organizing trays. It allows the sterilizing agent to reach the instruments during the cycle and helps protect the processed items afterward. CDC also recommends labeling packages so a practice can trace a load if a sterilization problem is discovered. At minimum, the label should identify the sterilizer, the cycle or load number, the sterilization date, and an expiration date when that practice uses one.
MONITOR THE PROCESS—DON’T JUST TRUST THE BEEP
A sterilizer finishing its cycle does not by itself prove that every condition was correct. CDC recommends using a combination of mechanical, chemical, and biological monitoring. Mechanical monitoring checks parameters such as time, temperature, and pressure and should be reviewed for every sterilizer load. Chemical indicators should be used inside every package, with an external indicator as well when the internal indicator cannot be seen from the outside.
Biological monitoring, commonly called spore testing, directly challenges the sterilization process with highly resistant microorganisms. CDC recommends a spore test at least weekly, using a matching control from the same lot, and also for every load containing an implantable device. Those records matter because if a monitoring failure occurs, documentation helps the practice determine what was processed, what may need to be recalled, and when the last acceptable cycle occurred. A skilled assistant does not treat monitoring logs as paperwork after the “real work”; the records are part of the safety system.
STORAGE IS THE LAST STEP, NOT AN AFTERTHOUGHT
Sterile packages still need protection after the cycle is complete. CDC recommends storing sterile instruments and supplies in covered or closed cabinets when possible and avoiding locations such as under sinks where packages could become wet. Before use, the package should be inspected for events that may have compromised it, including tears, punctures, moisture, or other damage.
If a package is compromised, the answer is not to “wipe it off” and move on. CDC guidance calls for reprocessing the contents: cleaning, repackaging, and heat sterilizing again before patient use. This is an important mindset for assistants in training because it reinforces the idea that sterility is maintained by a chain of correct steps. The chain continues until the packaged instrument is opened for care.
THE ASSISTANT’S REAL SUPERPOWER: CONSISTENCY
Instrument processing is not glamorous, but it is one of the clearest examples of how a dental assistant protects patients and coworkers without needing to be the person holding the handpiece. The best systems reduce memory load by using a consistent physical flow, clear labels, standard checklists, and documented monitoring. When the day gets busy, those systems become even more valuable because they prevent “I thought someone already did it” from becoming part of patient care.
For students, the practical goal is to learn the reason behind every step instead of memorizing a sequence of chores. Ask yourself what could go wrong if cleaning is incomplete, if instruments are packaged wet, if a chemical indicator does not change, or if a torn pouch is placed back into a drawer. When you can answer those questions, you are no longer simply following a routine—you understand the safety logic that makes the routine work.
PRACTICAL TAKEAWAY — THE FIVE-ZONE MENTAL CHECK
Before leaving the processing area, mentally walk the instruments through five zones: 1) contained contaminated transport, 2) cleaning and rinsing, 3) drying/inspection/packaging, 4) sterilization and monitoring, and 5) protected storage. If an item skips a zone, moves backward into a contaminated area, has a failed indicator, or has damaged packaging, stop and follow the office’s written protocol before it returns to patient care. The exact equipment and cycle settings vary by manufacturer and office, so always follow validated Instructions for Use, employer procedures, and applicable state and local requirements.
Made for This is about turning everyday responsibilities into skills you can feel confident carrying into work and home. Save this guide as a study refresher, compare it with your program’s infection-control material, and practice naming the purpose of each step—not just the step itself. The more clearly you understand the flow, the easier it becomes to recognize when something is out of place before it reaches the next patient.
SOURCES & SAFETY REFERENCES
Source review date: September 13, 2026. The CDC pages below were updated May 15, 2024; the OSHA resources were accessed for current federal occupational-safety guidance. These sources are listed for education and do not replace office policies, manufacturer Instructions for Use, state dental-board rules, or employer-specific training.
1. CDC — Best Practices for Sterilization in Dental Settings (updated May 15, 2024)
https://www.cdc.gov/dental-infection-control/hcp/dental-ipc-faqs/dental-sterilization.html
2. CDC — Sterilization and Disinfection, Summary of Infection Prevention Practices in Dental Settings (updated May 15, 2024)
https://www.cdc.gov/dental-infection-control/hcp/summary/sterilization-disinfection.html
3. CDC — Best Practices for Sterilization Monitoring in Dental Settings (updated May 15, 2024)
https://www.cdc.gov/dental-infection-control/hcp/dental-ipc-faqs/sterilization-monitoring.html
4. CDC — Standard Precautions in Dental Settings (updated May 15, 2024)
https://www.cdc.gov/dental-infection-control/hcp/summary/standard-precautions.html
5. OSHA — Bloodborne Pathogens and Needlestick Prevention, Quick Reference Guide
https://www.osha.gov/bloodborne-pathogens/quick-reference