
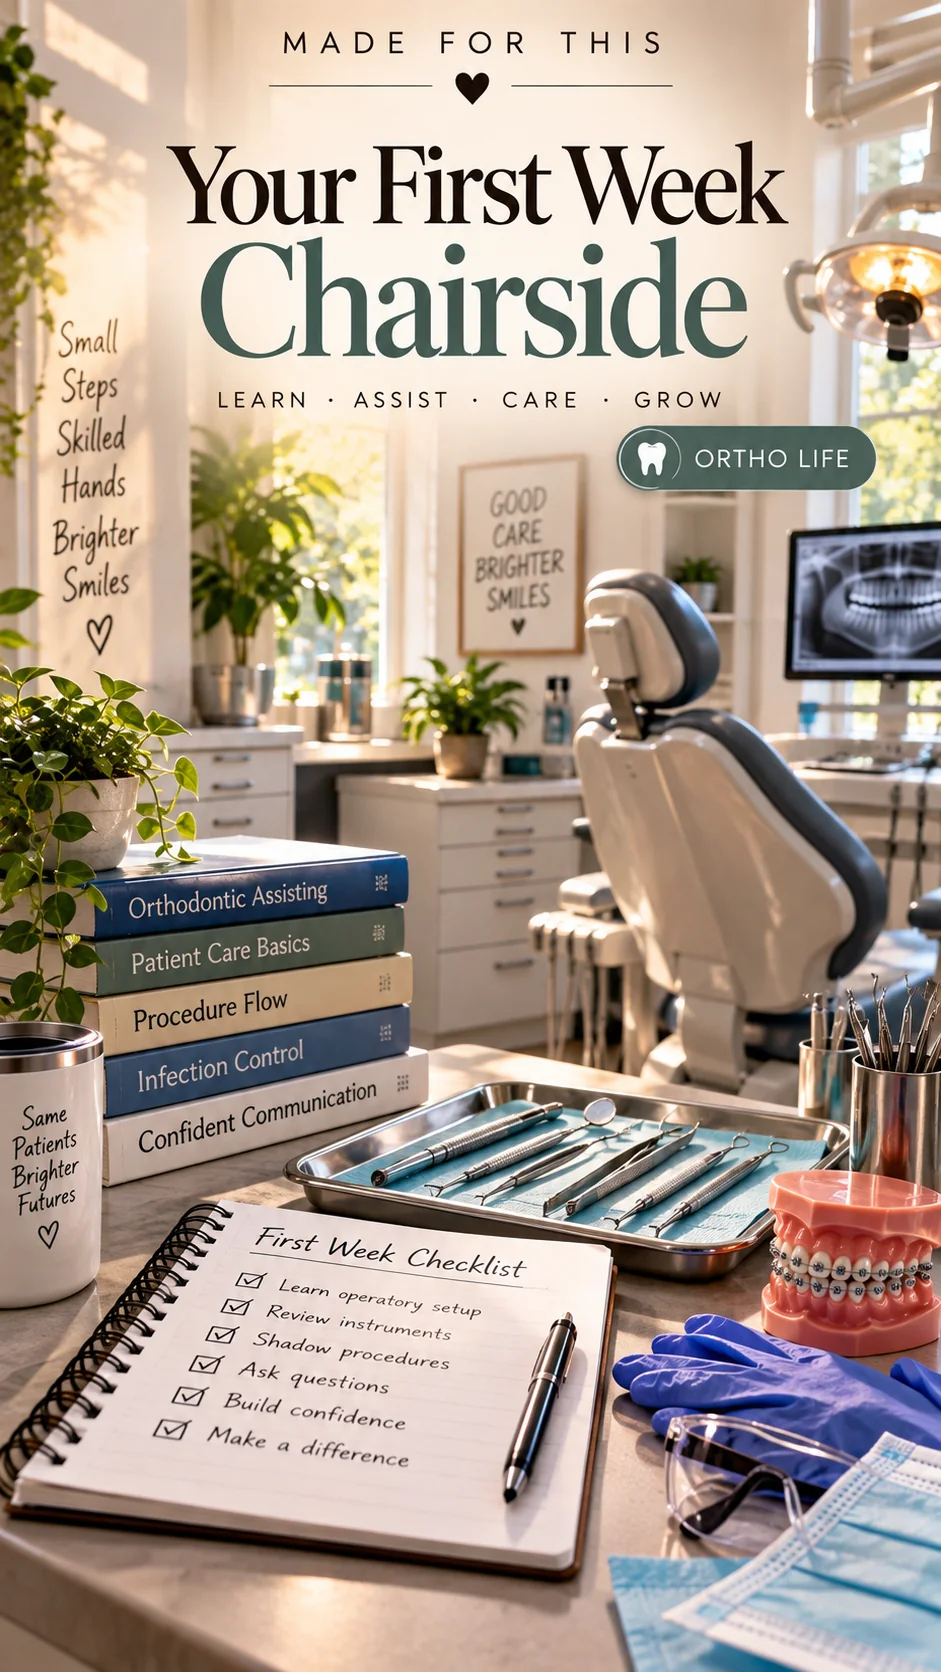
Your first week in a dental office is easier to navigate when you know what you are learning and who will help you learn it. Rooms, materials, charting, and the pace of patient appointments can all feel unfamiliar at once. Start by asking your trainer to name the tasks you will observe, the tasks you can practice under supervision, and the questions you should bring to them immediately. That conversation gives your week a useful shape.
Agree on the learning plan
Ask who will guide your orientation and how the practice checks that you are ready for a task. A useful opening question is, "What would you like me to understand by the end of today?" Find out where written procedures live, how to ask for help during an appointment, and which duties belong to your current role.
You can be helpful while you are still learning. Confirm a supply location, follow a demonstrated setup, or prepare for the next appointment as directed. When you are unsure, ask the person supervising you to check your understanding before you continue.
Learn the safety routine first
CDC guidance on Standard Precautions identifies hand hygiene, appropriate protective equipment, sharps safety, sterile instruments, and clean environmental surfaces as core parts of dental infection prevention. The guidance also emphasizes education and training. Ask your trainer to show how those requirements work in the practice's actual rooms.
Locate the hand hygiene supplies, protective equipment, and sharps containers. Review the practice's process for reporting an exposure or a safety concern. Learn the designated flow for used instruments and clean supplies from the person responsible for that training. Keep clinical practice within your training, supervision, and permitted duties.
Day one Learn the room and the people
Walk through the areas you will use with your trainer. Ask where routine supplies belong and how the team communicates when something is missing. Notice who handles scheduling questions, who manages supplies, and who answers clinical questions. Knowing the right person to ask saves a lot of uncertainty later.
Before leaving, write down a few locations you want to remember. Leave patient names and other identifying information out of your personal study notes.
Day two Learn one appointment setup
Choose one common appointment type with your trainer. Watch the approved setup and ask why each item is included. Try explaining the arrangement back in your own words, then have your trainer correct anything you misunderstood.
If the practice allows training photos, use only its approved process and device. Otherwise, a simple diagram in your notebook can help you remember the layout without recording patient information.
Day three Follow the communication
Listen to how the team announces that a room is ready, requests a material, and explains the next step to a patient. Write down unfamiliar terms to review at a suitable break. You can ask, "When you say that, what should I prepare or check?"
Repeat a request back when the details matter. Clear confirmation is especially useful when you are still learning the office's terminology and rhythm.
Day four Practice an approved task
Ask your trainer to choose a task that fits your role and current training. Have them demonstrate it, explain it back, and practice with their supervision. Ask for specific feedback: which step was correct, which step needs another demonstration, and when you should check in again.
Completing a task once does not mean every version of it will be familiar. When the appointment or materials change, confirm what changes in your part of the routine.
Day five Review what you can repeat
Use the end of the week to review your notes with your trainer. Separate what you understand well from what still needs guided practice. Agree on a small goal for the following week.
You might be ready to recognize one setup, find routine supplies, or give a clear room-status update. Name that progress precisely. It helps your trainer decide what to teach next and gives you something concrete to build on.
Keep a notebook that helps you work
Use a few repeatable prompts: the term I heard, what it means, where the approved procedure is, and what I need to ask next. Keep entries short enough that you can review them before a shift. Use generic examples and protect patient information.
A notebook becomes more useful when you revisit it. At a quiet moment, circle one question you still need answered. After your trainer explains it, replace the uncertainty with the corrected instruction and its source.
Finish each shift with one next step
Before you leave, ask what you should review and what tomorrow's learning focus will be. At home, spend a few minutes on that one topic using the materials your practice recommends. Bring unanswered questions back to your trainer.
A manageable study routine helps you return with a clear question instead of trying to memorize an entire profession overnight. Let the practice's training plan guide the pace.
Continue with Made for This
Keep your learning materials together with the Made for This Ortho Life resources, including the free Orthodontic Assistant Quick Reference. Explore the guidebook previews and register your interest in a future guide release that fits your goals. Use those resources to organize your study alongside the training and procedures provided by your practice.